


If this newsletter has somehow found its way into your hands (and you’re not yet subscribed), allow me to help you out:
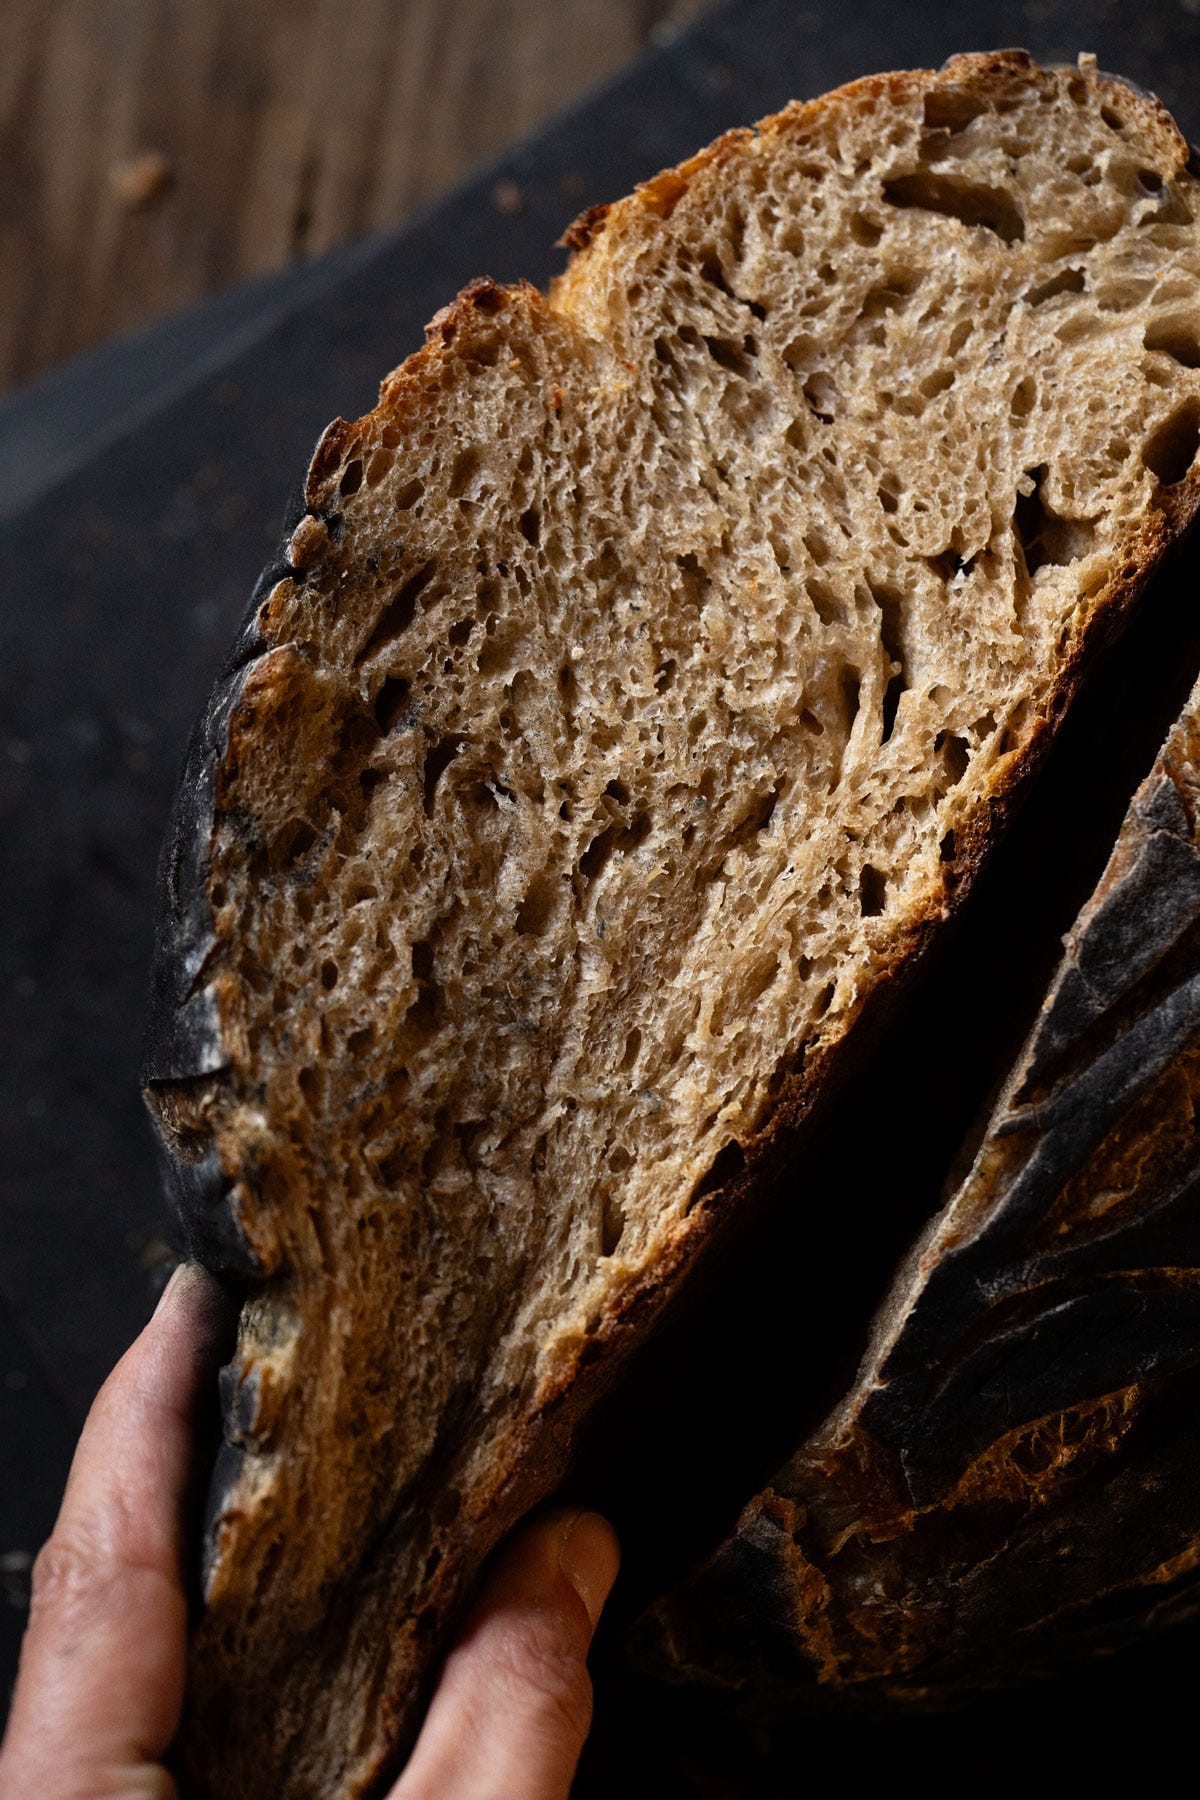
Incidentally, this is also a recipe for how to make the softest sourdough loaf (with light notes of honey and coffee, courtesy of our Irish pal).
in short: adding any form of sugar into the sourdough equation (be it in the form of making a sweet stiff starter or adding some honey etc. into your dough) will result in a much less sour bake.
the science behind it: you might be surprised to read that its not because the sugar simply offsets the sourness taste-wise, but rather because it changes the activity in your sourdough culture– encouraging yeast growth (which produces gas) over the bacterial cultures (namely lactobacillus i.e. LAB, which are in charge of much of the acid production during fermentation).
So this leads to an excellent and faster rise, with a minimal drop in pH. (i.e. it’s much less sour tasting!)
how to apply it to your bakes: we’ll circle back to introducing sweet stiff starters later on this week (think pillowy-soft milk bread and extra fluffy cinnamon rolls), but simply adding 30-50g of honey into your sourdough loafs will yield a less sour bake, with a softer crumb and in less time.
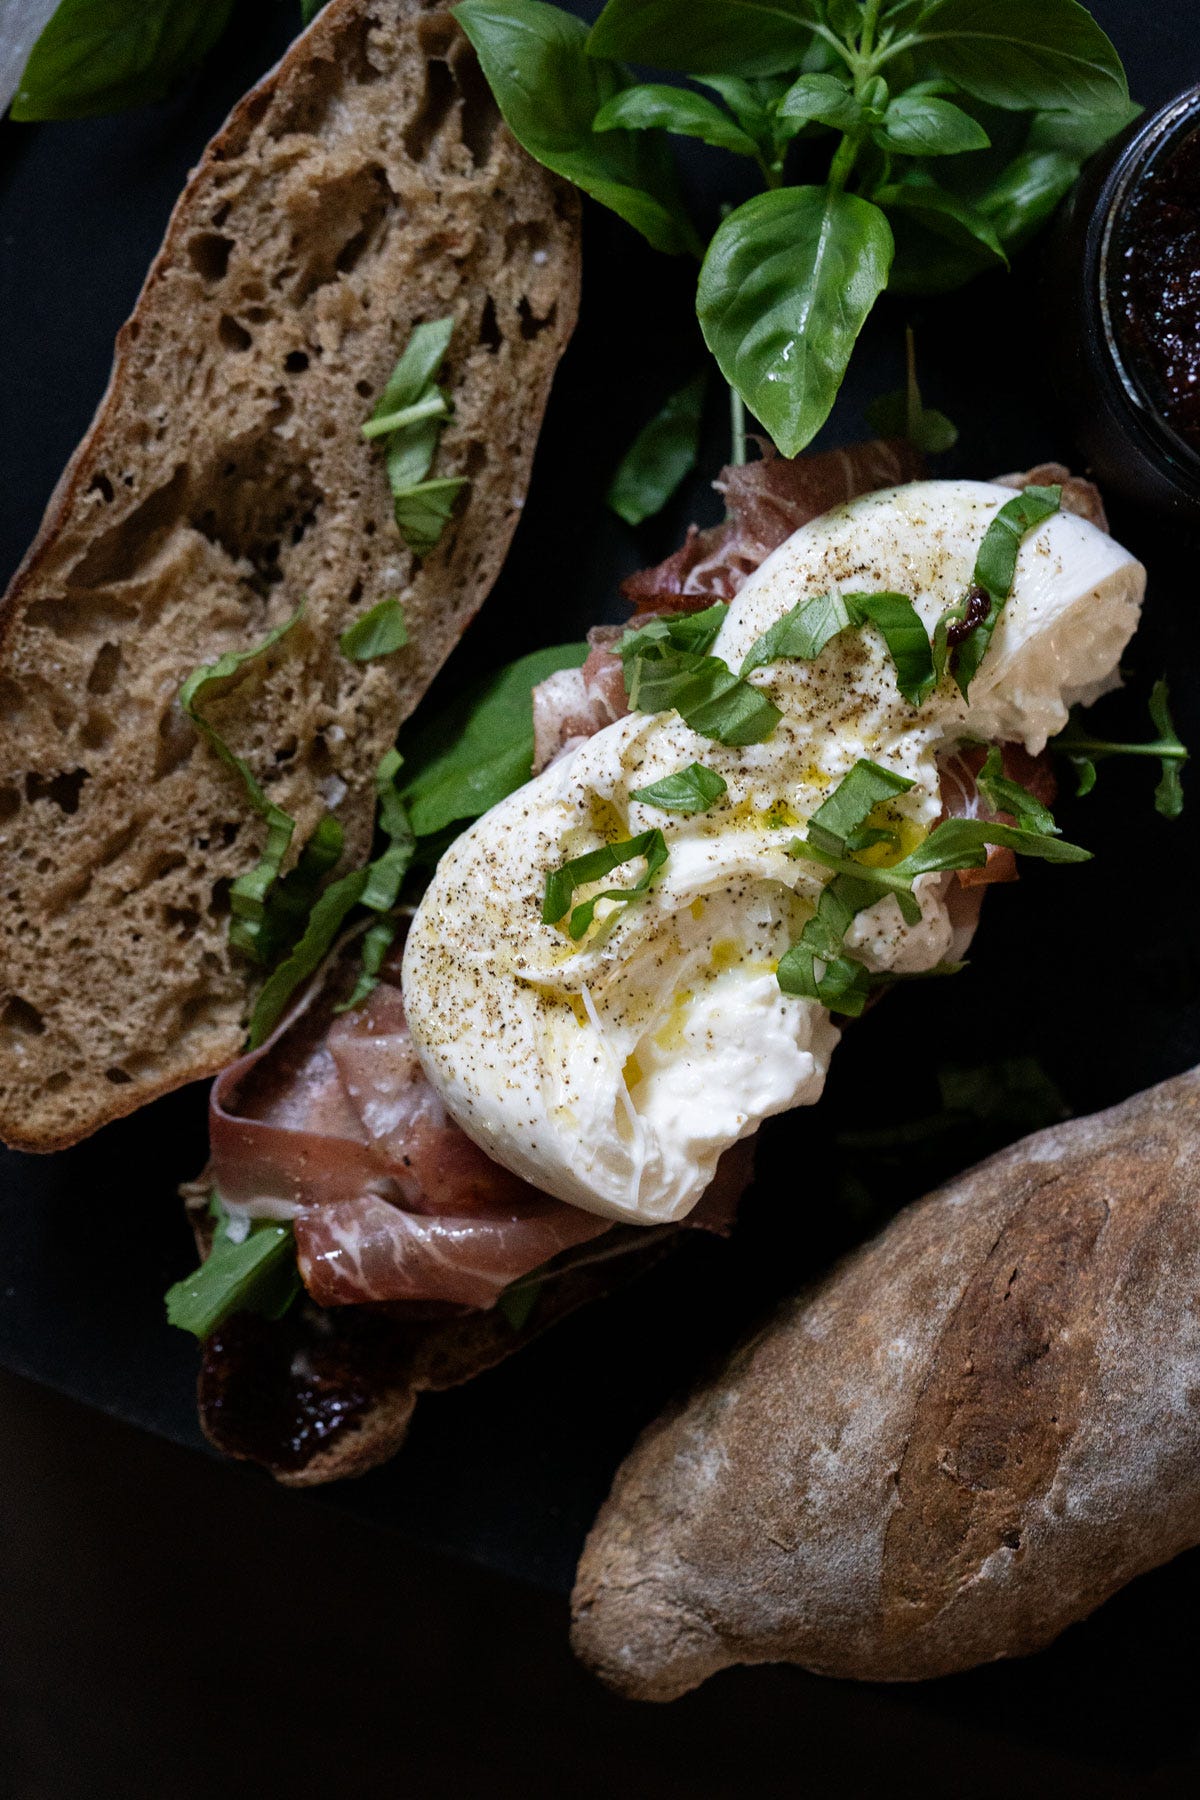
(my personal scoop: I actually adore ultra sour sourdough bread, as I find the tartness delightful in anything from avocado toast to sandwiches galore… but I also favor long fermentations, which border in over-proofing (reducing the carbs and gluten significantly in favor of digestibility)… so things can get a tad bit too sour at times. Which is where the honey comes in– allowing me to push the fermentation, without my loafs tasting acrid from the excess of acetic acid.)
the deets 🎨
100% flour (80% strong bread flour + 20% rye*), 75% hydration with a Guinness beer, 20% active starter, 10% raw honey, 2% salt
*you can omit the rye if need be… but also don’t as it adds a wonderful complexity (to pretty much any loaf)(not to mention adding a tad to your starter feedings will truly get it thriving).
p.s. I also bumped the hydration down a notch here from my usual favored 80% for loafs, as I found the dough was proofing too fast with the added honey and beer (in general you don’t want to rush the process as you’ll loose complexity of flavor).
(ask a question, post a thought 🤌🏼)
xo! Paola
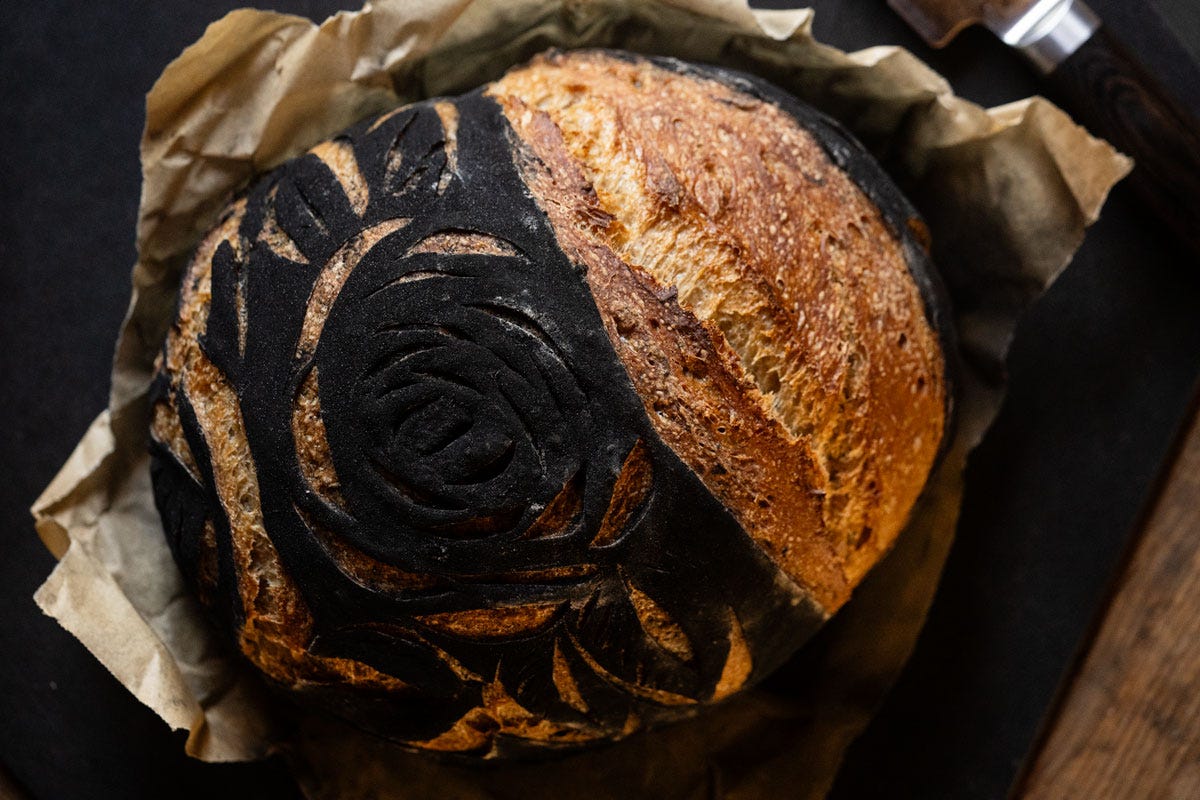
(guinness 'n honey) sourdough 🍺🍯🥖
She might just be the softest sourdough loaf around– with light notes of honey and coffee, courtesy of our Irish pal.
To scale to however many loafs you want (or 1 loaf in grams)
ingredients
75% (375g) Guinness beer (if you got a bottle rather than a can, top it off with a little spring water)(that said, try and procure the cans– more bang for your buck)
20% (100g) active sourdough starter
10% (50g) raw honey
80% (400g) unbleached bread flour*
20% (100g) rye
2% (10g) fine sea salt
5 p.m. feed your starter
Add roughly 50g of flour to feed your starter (you want 100g of active starter for the recipe, so it depends on how big you keep your starter (say you may want to feed it for a couple days without discarding if you keep a small one going)(or if you’re taking yours out of the fridge you’ll def need to do one feeding before it’s strong enough to bake with).
Add enough spring water (you don’t want filtered, you really do want the added minerals) until the dough resembles a thick pancake batter. Generally 50g of water/50 g of flour (i.e. a 100% ratio) is enough to get the consistency right (but if you're dealing with warmer temperatures you may want to do just 70% to have a more stable starter).
Allow to rest for 3-6 hours in a warm(ish) place: until it doubles in size. You can test for prime activity fairly well either using the float test (as it sounds: check if your starter floats in a little water) or the burn test (tap your starter on the counter to “break the surface”, light a match and if it blows out it means your starter is using up all the oxygen in the surrounding area i.e. it’s sourdough time).
8 p.m. make your dough
Add the beer (preferably at room temp), active starter and raw honey to a large bowl. Using your hands (though some peeps favor a danish hook) mix until dissolved (don’t overthink it if a few tiny lumps remain).
Add in the flours and salt and mix with your hands until just combined and the dough is all shaggy (and sticky).
Cover with a kitchen towel and let it rest for 30 minutes.
9 p.m. bulk rise (plus stretch ‘n folds)
Thirty minutes in you’ll want to do a set of “stretch ‘n folds”: grab a hold of the dough, stretch it upwards and fold it down towards the center of the bowl. Rotate and repeat four times (watch the video!).
Repeat one to three more times every thirty minutes (your sourdough cultures do most of the “kneading” for you so you technically can get away with one set, but if you’re using heirloom flours which tend to develop gluten slower, you do benefit form doing at least two sets).
Transfer to a smaller bowl (as it’s easier to gauge the rise if you can actually mark it with a sharpie) and cover with a kitchen towel.
Allow to rest for 3-10 hours, or until at least doubled in size (remember that time here is directly influenced by temperature so it’ll vary greatly)(p.s. I generally let mine go until it almost tripes as I’ve pushed it just until the point that it begins to recede back and it still comes out superb)(and I personally find it easiest to digest).
6 a.m. shape
Lightly flour your working surface, turn the dough out and stretch it out gently (allow it to rest for 10 minutes if it “feels” like it’s resisting)(you’ll know, trust me!). Stretch it out, fold the sides in, and roll it gently but tightly. You then want to roll it gently against the counter towards you a few times (this creates surface tension, making for a better crust!).
Transfer to a (very well floured or lined) banneton or small-ish bowl and cover with a paper towel, place inside a plastic bag and refrigerate for 12-72 hours (depending on how long you want to proof it for).
Or allow to proof at room temperature for about 2 more hours, until it springs back to touch (you literally want to poke it gently, and if it springs back you know you’re golden)(though if it springs back too quickly it’s actually under-proofed)(and, you may’ve guessed it, if it doesn’t spring back at all you’re now over-proofed). i.e. this is why baking a few loafs and poking them around throughout it’s stages is highly suggested.
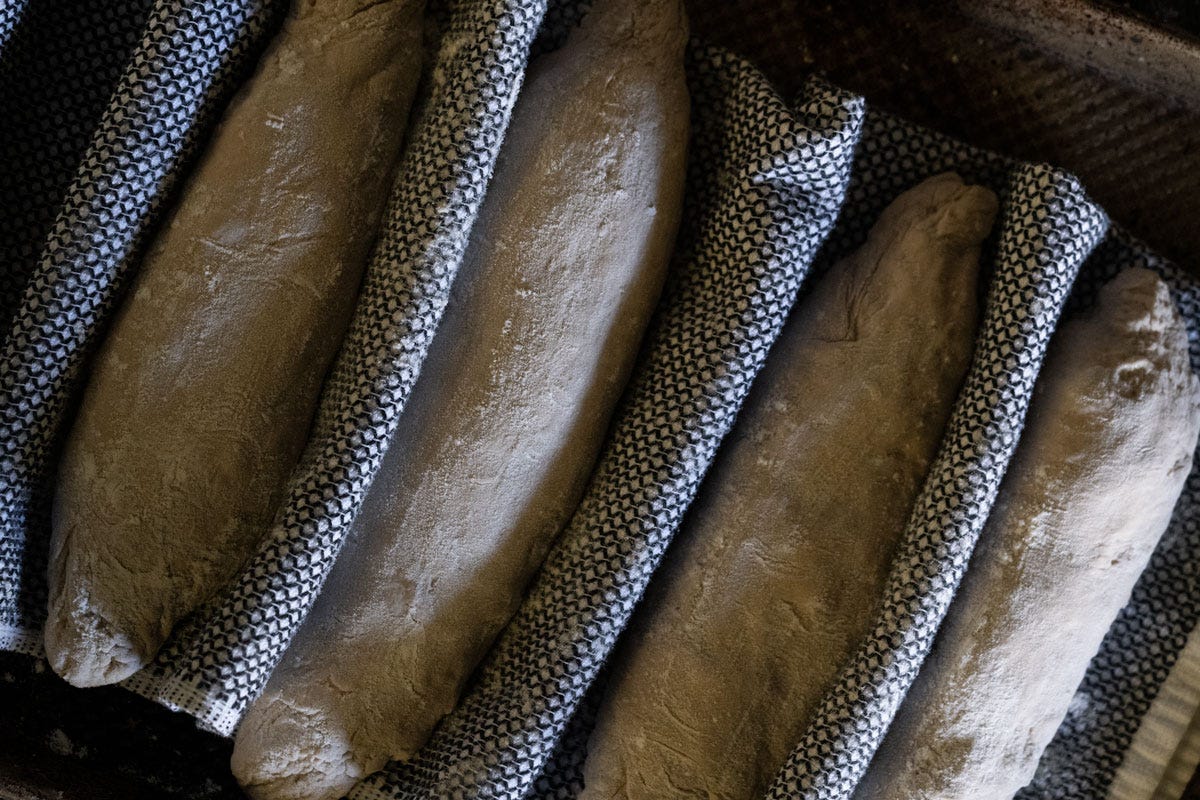
If making baguettes: there are a number of ways to shape this legendary bread (wether you’re refrigerating the dough or not, etc) so I’m working on a dedicated post to show you guys all the differences and how it affects the rise and crumb. Still (and don’t tell the French), but they’re a shape that you can get away with “messing it up” and you’ll still be happy with the results.
But the easiest method I’ve tried thus far (which can be done all in one day, as was in my video): shaping them into rounds to create some surface tension, letting them rest for 30 mins, then lightly rolling them out into their elongated shape.
Allow them to rest at room temp for an hour, nestled in a well-floured kitchen towel.
8-12 a.m. bake away!
(or if you do a cold fermentation… and wait 12-48 hours)(72 if you want slightly over-proofed bread)
Preheat oven to 450°F/230°C with your Dutch oven inside for 20 minutes (some peeps bake at a lower temperature, say 420°F, it depends a bit on your oven).
(if baking baguettes in the oven you’ll simply be baking them on a tray, as I’ve found that they tend to come out a bit hard and stodgy in a preheated tray or baking stone).
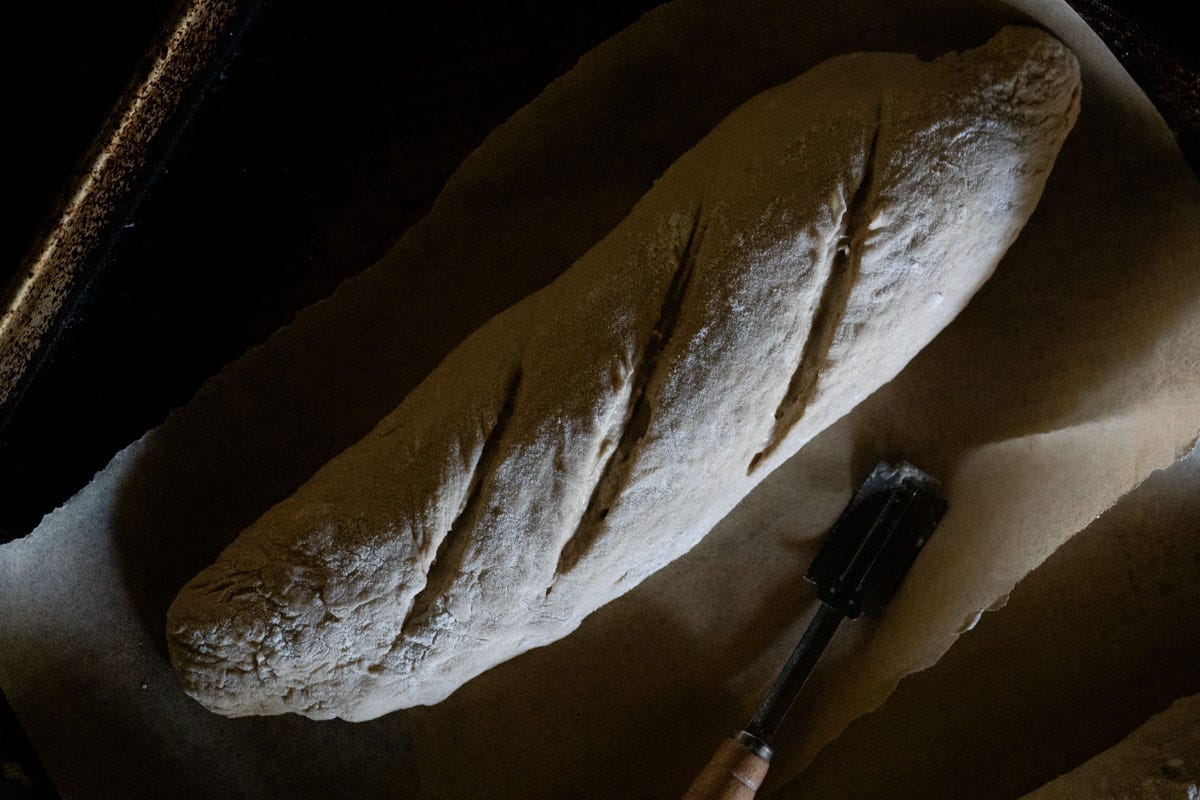
Score loaf/baguettes in order to allow it to expand evenly (and create a beautiful “ear”). Knifes don’t quite work here, a razor blade really is prime.
Bake loaf: lid on for 20 minutes, remove lid and bake for 20 more minutes or until deeply golden brown (if you tap it on the bottom it’ll also sound hollow).
Bake baguettes: for 25-30 until a deep and beautiful golden brown (if you tap it on the bottom it’ll also sound hollow).
Allow to cool completely if you want it at its best– but 20 minutes will do if you simply can’t hold your horses (and you don’t want to wreck your crumb).
p.s. I believe this rule doesn’t apply to baguettes, which are best freshly baked and warm– so be sure to enjoy at least one while nice and steamy! ;)


